
How to Fix a Sagging Fence Gate for Good | Homeowner Guide
To fix a sagging gate, first check whether the hinge post is leaning with a 4-foot level; if plumb, the gate frame has racked. You can permanently eliminate gate rack by installing a steel anti-sag turnbuckle cable running diagonally from the top hinge corner down to the bottom latch corner, or by replacing light zinc hinges with heavy-duty adjustable J-bolt strap hinges.
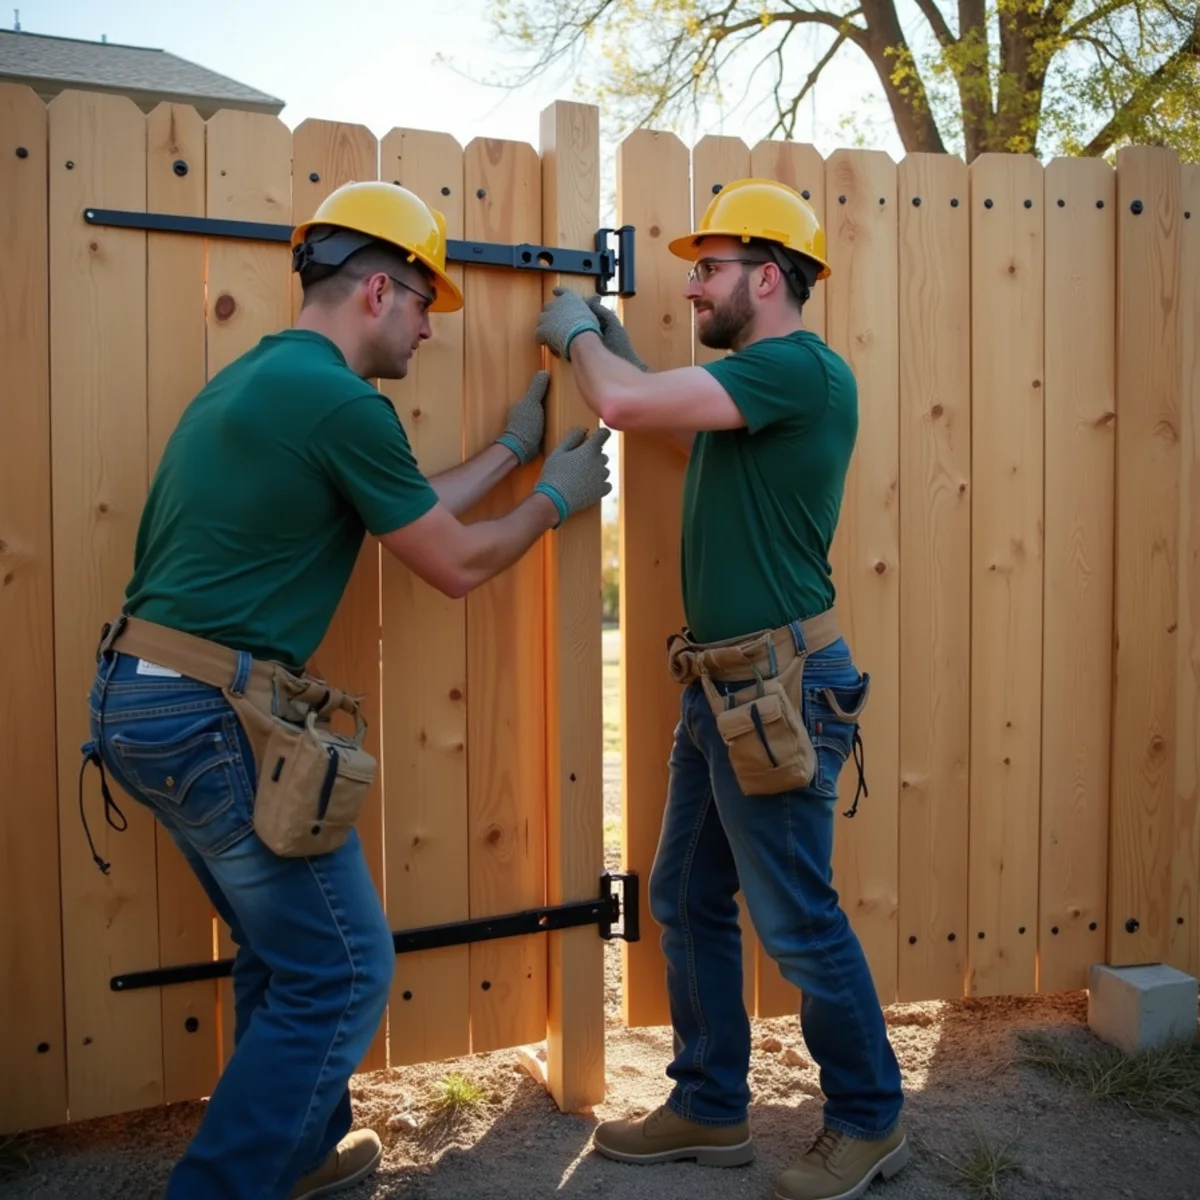
Field Insight on Diagonal Bracing Geometry: Tension vs. Compression
Ninety percent of sagging wooden gates we service suffer from an incorrectly oriented wooden cross-brace. A wooden diagonal brace must act in compression—starting at the bottom corner on the hinge side and angling upward to the top corner on the latch side. If installed backward, wood fibers pull apart in tension under gravity, causing the gate to sag immediately.
Tradeoff Consideration: Anti-Sag Cable vs. Full Frame Rebuild: An anti-sag turnbuckle cable ($25 hardware kit) provides a quick, effective 30-minute fix that can pull a racked frame back into square. However, if the gate frame was fastened with smooth finish nails rather than structural corner brackets and screws, the wood will continue to flex.
Guide Outline: How to Fix a Sagging Fence Gate for Good | Homeowner Guide
- 1.Anatomy of Gate Failure: Hinge Post Deflection vs. Frame Racking
- 2.Diagnosing Diagonal Sag: Compression Struts vs. Tension Cables
- 3.Reinforcing the Hinge Post: Converting 4x4s to 6x6s or Steel Posts
- 4.Installing and Adjusting Heavy-Duty Adjustable J-Bolt Strap Hinges
- 5.Permanent Frame Stiffening Techniques: Gussets, Wheels, and Turnbuckles
- 6.Frequently Asked Questions
Anatomy of Gate Failure: Hinge Post Deflection vs. Frame Racking
Before reaching for an impact driver or wrench, you must determine where the structural failure is originating. A dragging gate is simply a symptom; the underlying defect almost always resides in one of two distinct areas: the hinge post or the gate frame itself.
Take a 4-foot carpenter's level and place it vertically against the face of the hinge post (the vertical post holding the hinges). Check both the lateral plane and the face plane. If the bubble is off-center toward the gate opening, your post is leaning. In El Paso County, post lean occurs when builders use undersized 4x4 posts set in shallow concrete that deflect under the dynamic cantilevered weight of a 70-pound wooden gate.
If the hinge post is perfectly vertical, place the level across the top rail of the gate frame. If the latch side dips lower than the hinge side, the rectangular wooden frame has racked into an out-of-square parallelogram.
Questions Regarding how to fix a sagging gate?
Call Jeremy directly for veteran-owned technical guidance on Front Range fencing.
| Diagnostic Test | Tool Used | What You Observe | Root Mechanical Cause |
|---|---|---|---|
| Post Plumb Check | 4-Ft Carpenter's Level | Post tilts toward gate opening | Hinge post footing loosened in soil or timber bent |
| Frame Square Test | Framing Square / Tape Measure | Corner diagonals unequal by > 1/2 in | Fasteners pulled loose; frame racked out of square |
| Hinge Pin Deflection | Visual Inspection / Wrench | Hinge barrel gaps uneven | Undersized zinc hinges bent under gate weight |
| Latch Strike Gap | Tape Measure | Latch misses striker plate by > 1/4 in | Gate dropped below latch receiver height |
Diagnosing Diagonal Sag: Compression Struts vs. Tension Cables
Understanding the physics of gate bracing is essential for long-term operability. A gate frame consists of two vertical stiles and two horizontal rails forming a rectangle. Under gravity, the heavy latch side naturally wants to drop downward.
To resist this rotational force, you must install diagonal bracing. You can solve this using either a compression strut (wood) or a tension brace (steel cable).
If you use a wooden 2x4 diagonal brace, it must be installed as a compression member: starting at the bottom corner near the lower hinge and extending diagonally upward to the top corner near the latch. In this orientation, gravity tries to compress the wood grain—which wood resists with immense strength. Conversely, if you install a steel cable turnbuckle kit, it acts in tension: running from the top hinge corner down to the bottom latch corner to pull the dropped corner upward.
Action Checklist:
- Confirm wooden diagonal brace points UP from bottom hinge corner toward top latch corner
- Ensure diagonal brace ends are cut with compound miter notches to seat firmly against rails
- If using steel wire turnbuckle, anchor eye-bolts through corner structural joints
- Tighten turnbuckle incrementally while supporting the gate on a wooden block
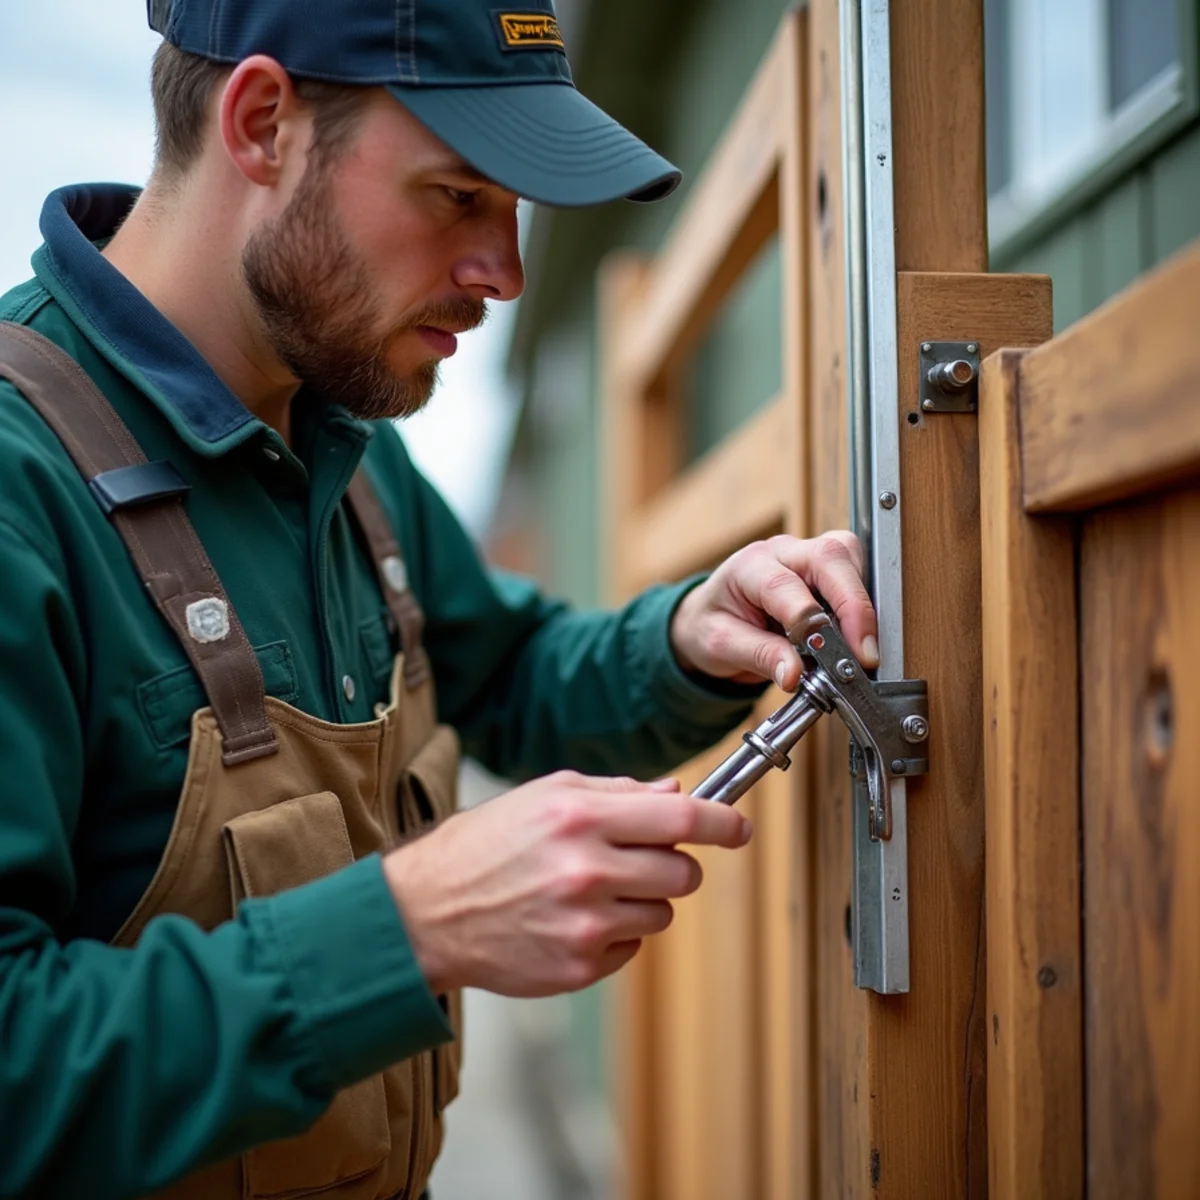
Reinforcing the Hinge Post: Converting 4x4s to 6x6s or Steel Posts
If your diagnostic revealed that the hinge post itself is leaning, no amount of turnbuckles or hinge adjustments will keep your gate functioning. The post is simply flexing under cantilevered stress.
Standard 4x4 pressure-treated posts possess a bending moment that is marginal for wide gates, especially when subjected to 75-mph Front Range wind gusts. When we replace failing gate posts at Jeremy's Fences, we upgrade to either a heavy 6x6 timber post or a commercial-grade schedule-40 steel post.
A 6x6 timber post has more than 2.5 times the structural rigidity of a 4x4. We excavate the old post footing completely, dig 30 to 36 inches deep, and pour 150 to 200 lbs of high-strength commercial concrete with a bell-shaped base to anchor the post solidly into El Paso County subsoil.
| Post Specification | Cross-Section Area | Bending Rigidity Factor | Recommended Gate Application |
|---|---|---|---|
| Standard 4x4 Timber | 3.5 in x 3.5 in (12.25 sq in) | 1.0x (Baseline) | Light 36-in walk gates only |
| Heavy 6x6 Timber | 5.5 in x 5.5 in (30.25 sq in) | 2.6x Stronger | Heavy 48-in to 60-in cedar privacy gates |
| Heavy PostMaster Steel | Structural C-Channel Steel | 3.2x Stronger | High-wind exposed runs & double gates |
| Round Sch-40 Galvanized Pipe | 2-3/8 in Outer Diameter | 3.5x Stronger | Utility gates, heavy chain link, commercial |
Installing and Adjusting Heavy-Duty Adjustable J-Bolt Strap Hinges
Standard hardware store 'T-hinges' fastened with short 1-inch wood screws are completely inadequate for heavy Front Range privacy gates. Under constant swinging and wind impact, the screws strip out of the post end-grain, allowing the hinge pin to deflect downward.
Professional gate installations utilize heavy-duty adjustable J-bolt strap hinges. A threaded steel J-bolt passes completely through the hinge post, secured with locking washers and double nuts on the back side. The matching heavy-gauge steel strap wraps around the gate frame rails.
The massive advantage of adjustable J-bolt hinges is future serviceability. As seasons change and soil shifts, you can easily adjust gate gap and level in five minutes simply by turning the adjustment nuts with a standard 3/4-inch wrench—eliminating the need to ever drill new screw holes.
Action Checklist:
- Select powder-coated or galvanized adjustable J-bolt hinges rated for 150+ lbs
- Bore 5/8-inch clean holes completely through the hinge post for through-bolt mounting
- Use large fender washers on the back side of the post to prevent nut crushing into timber
- Adjust nuts inward or outward to align the gate perfectly plumb with the strike post
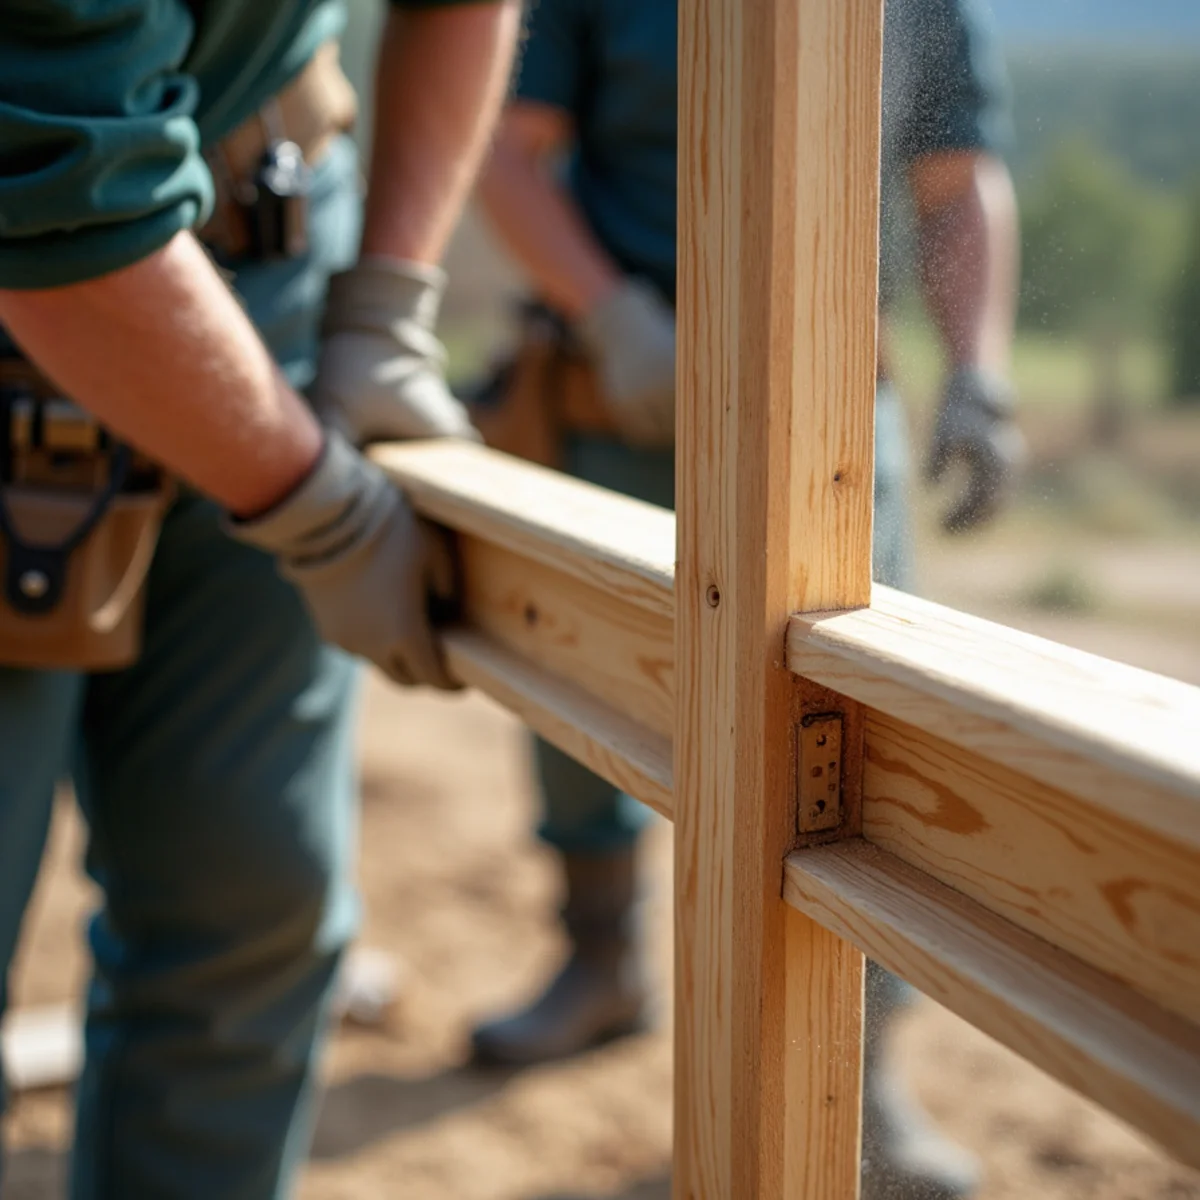
Permanent Frame Stiffening Techniques: Gussets, Wheels, and Turnbuckles
For wide gates (spanning 5 feet or wider) or double-drive gates for utility trailers, standard wood framing requires supplemental reinforcement to prevent ongoing sag.
Three professional upgrades provide permanent frame rigidity. First, install heavy steel corner gussets (L-brackets) on all four internal frame corners, secured with structural lag screws to prevent joint racking. Second, install an industrial anti-sag truss rod kit featuring a center turnbuckle and 5/16-inch steel rods.
Third, for exceptionally wide wooden double gates, mount a spring-loaded pneumatic gate caster wheel on the latch corner. The wheel absorbs the dead weight of the gate as it rolls across concrete or packed driveway gravel, transferring cantilevered strain away from the hinge post.
If your gate needs professional rebuilding, call Jeremy at (614) 543-4232 for dependable craftsmanship.
| Stiffening Hardware | Installed Position | Primary Mechanical Function | Ideal Gate Width |
|---|---|---|---|
| Corner Steel L-Gussets | 4 inside corners of frame | Locks 90-degree corners against joint racking | All gates (3 ft – 6 ft) |
| Heavy-Duty Turnbuckle Kit | Diagonal across frame | Applies tension to pull sagging corner upward | 4 ft to 6 ft gates |
| Spring-Loaded Caster Wheel | Bottom latch corner | Rolls on ground to relieve hinge post strain | Double gates (8 ft – 12 ft spans) |
| Cane Bolt Ground Drop Rod | Bottom center of double gate | Locks stationary gate leaf firmly into concrete socket | All double drive-through gates |
Frequently Asked Questions
A wooden diagonal brace must run upward from the bottom corner on the hinge side to the top corner on the latch side. This puts the wood into compression under gravity, utilizing the wood's compressive strength to keep the latch corner elevated.