
Annual Fence Inspection Checklist for Pikes Peak Homes
Perform an annual fence inspection every April by probing post collars 2 inches below grade with an awl to detect fungal rot, applying lateral rocking force to test post stability, auditing framing rails for fastener pullout, and checking gate hinges and latch clearance before summer storm season begins.

Field Insight on the Soil-Air Transition Decay Zone
Ninety-five percent of wooden fence post failures occur in a narrow 4-inch vertical band: from 2 inches above ground level to 2 inches below grade. This is where oxygen, warmth, and subterranean soil moisture combine to create the ideal incubation environment for wood-decay fungi. Probing this collar with an awl reveals hidden core rot years before the post leans.
Guide Outline: Annual Fence Inspection Checklist for Pikes Peak Homes
- 1.Spring Boundary Health Check: Why Post-Winter Audits Are Vital
- 2.Ground-Line Collar Inspection: Detecting Subterranean Fungal Decay
- 3.Structural Plumbness and Alignment: Checking Runs with a 6-Foot Level
- 4.Hardware, Fastener, and Gate Operability Diagnostics
- 5.Environmental Stress Factors: Sprinkler Overspray, Earth Berming, and Pest Activity
- 6.Frequently Asked Questions
Spring Boundary Health Check: Why Post-Winter Audits Are Vital
Every winter, Colorado Springs fences endure sub-zero temperatures, heavy snowbanks, freeze-thaw soil movement, and intense downslope wind gusts. By the time April arrives, hidden mechanical stresses often leave perimeters structurally vulnerable.
Performing a systematic annual inspection takes less than 30 minutes for an average residential backyard. This simple routine protects thousands of dollars in property investment by catching minor defects—such as loose screws, minor rot, or gate sag—before they snowball into emergency blowouts during spring wind season.
Grab a 4-foot carpenter's level, a metal scratch awl or flathead screwdriver, and a roll of blue painter's tape to mark trouble spots as you walk your perimeter.
Questions Regarding annual fence inspection checklist?
Call Jeremy directly for veteran-owned technical guidance on Front Range fencing.
| Inspection Zone | Primary Threat Monitored | Recommended Diagnostic Tool | Inspection Pass Criteria |
|---|---|---|---|
| Subterranean Post Bases | Fungal dry rot & insect damage | Metal Scratch Awl | Timber resists penetration > 1/4 inch |
| Concrete Footing Collars | Frost heave & soil cracking | Visual & Level Audit | Footing remains flush and locked in dirt |
| Horizontal Framing Rails | Sagging, split knots, fastener pop | Visual & Physical Shake | Rails tight; no movement under load |
| Vertical Pickets | Hail bruising, board warp, rot | Water Beading Test | Water beads; boards flat without cupping |
| Gate Assembly | Hinge deflection, latch binding | Swing & Latch Cycle | Self-latches cleanly from 6-in opening |
Ground-Line Collar Inspection: Detecting Subterranean Fungal Decay
Begin your inspection at the most critical structural component: the wooden posts at ground level. In El Paso County, lawn irrigation overspray and wet snowmelt create chronic moisture accumulation right where the post exits the concrete footing.
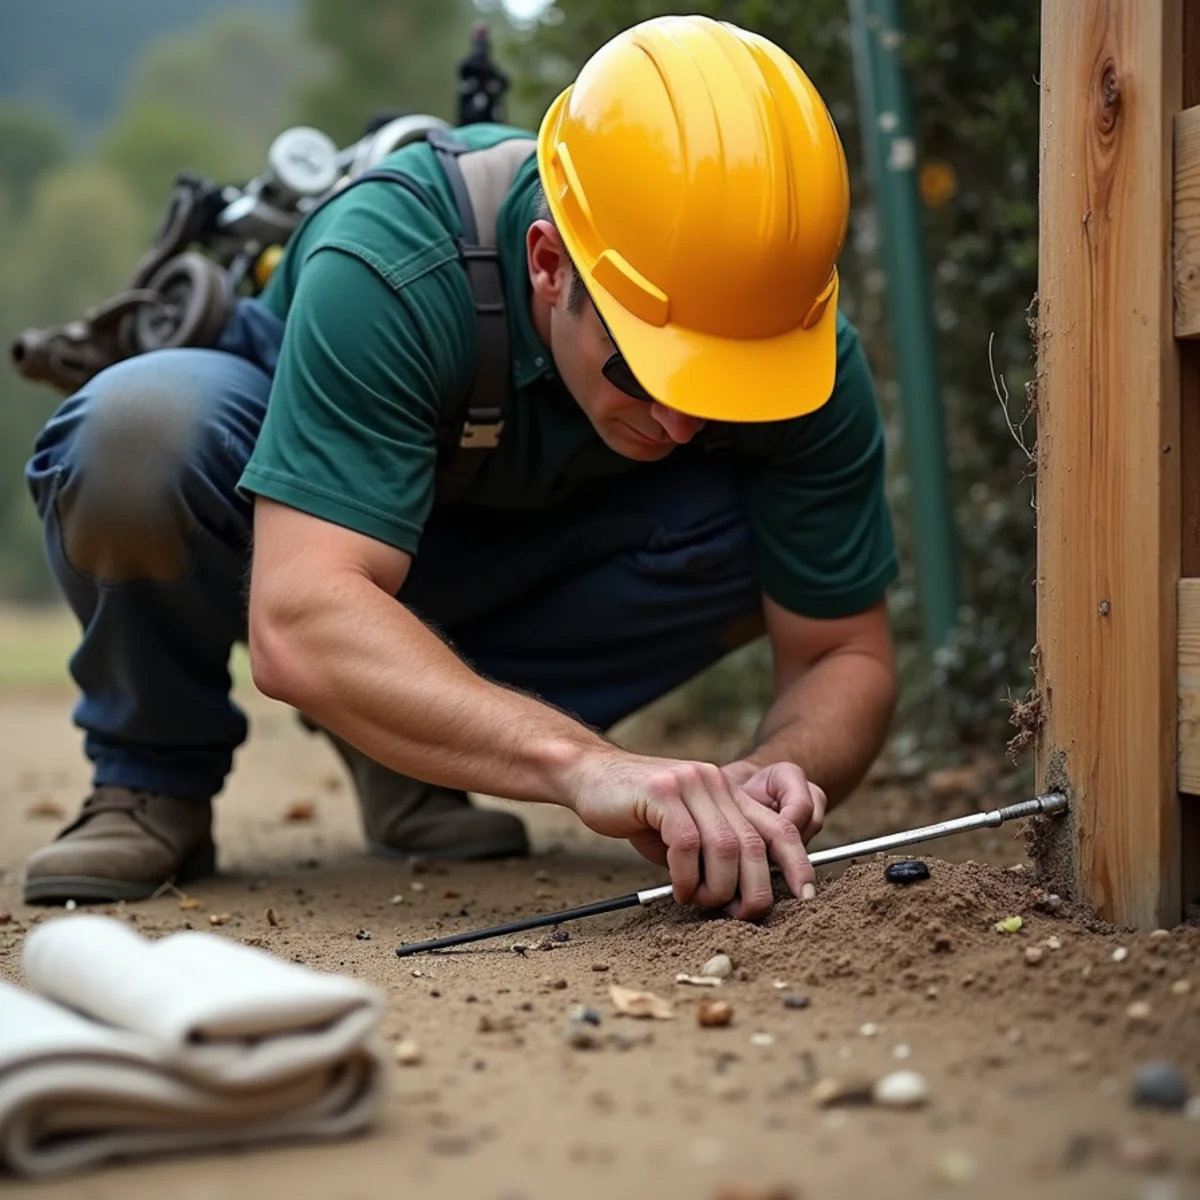
Clear away decorative gravel, mulch, or dirt around the base of each post to expose the top of the concrete collar. Take your scratch awl and firmly press the metal tip into the wood at a 45-degree angle approximately 1 to 2 inches below the soil line.
On a sound post, the awl will penetrate no more than 1/8 to 1/4 inch before hitting dense, rock-hard wood fibers. If the awl sinks effortlessly 1 to 2 inches into soft, spongy, or fibrous wood, subterranean fungal decay has compromised the post core. Mark the post for replacement before high winds strike.
Action Checklist:
- Scrape mulch and soil 2 inches away from wood-concrete interface
- Probe post collar on all 4 sides with a scratch awl to test wood density
- Check whether the top of the concrete collar is sloped away from the timber
- Look for white fungal mycelium threads or black mold staining at grade
Structural Plumbness and Alignment: Checking Runs with a 6-Foot Level
Next, inspect the horizontal alignment and vertical plumbness of each run. Step back 20 feet from each straight boundary line and sight down the top rail.
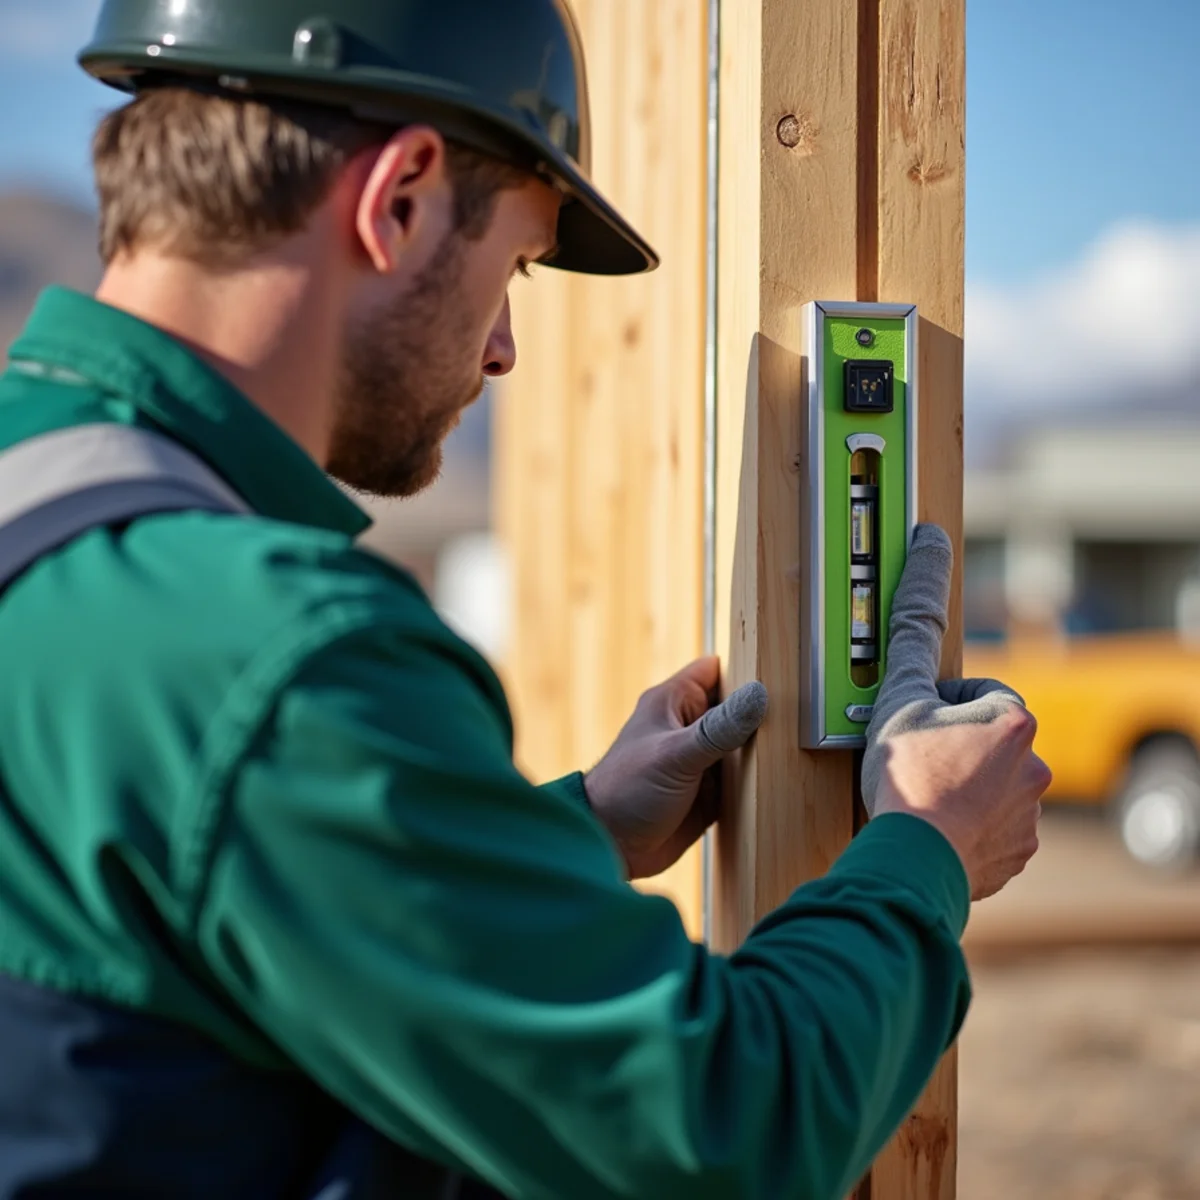
A properly anchored fence presents a crisp, laser-straight line. If individual posts tilt outward toward neighbor property lines or bow inward, soil movement or post rot is occurring. Place your level vertically against the side and face of every fourth post.
If a post is deflected more than 1 inch out of plumb over a 6-foot span, the post footing has either shifted in expansive bentonite clay or the timber has snapped below the soil line. Mark leaning posts for immediate bracing or reset.
| Plumb Deviation / Deflection | Structural Severity | Underlying Cause | Required Maintenance Action |
|---|---|---|---|
| 0 to 1/4 inch off plumb | Normal (Acceptable) | Natural seasonal wood movement | No action needed; monitor annually |
| 1/4 to 3/4 inch off plumb | Minor Concern | Slight soil settling or frost heave | Tighten rail fasteners; check again in fall |
| 3/4 to 1-1/2 inches off plumb | Moderate Failure | Concrete collar loose in subsoil | Install temporary kicker brace; re-dig footing |
| > 1-1/2 inches off plumb | Imminent Blowout | Post snapped cleanly at ground line | Full post replacement with 24-in concrete |
Hardware, Fastener, and Gate Operability Diagnostics
Now inspect the mechanical hardware that holds your fence together. In Colorado's dry climate, wood shrinks, causing nails to lose friction and back out of framing rails.
Run your hand carefully along horizontal rails to check for protruding nail heads. Tap on pickets to ensure they do not rattle loosely against the rails. If builder nails have popped, drive 3-inch exterior ceramic screws into the framing.
Next, perform a complete gate operability audit. Swing the gate open 90 degrees and inspect the hinge post for deflection. Check whether the latch tongue drops cleanly into the striker plate without requiring you to lift or pull the gate upward. If the gate binds, overhaul the hinges and adjust the diagonal turnbuckle.
Action Checklist:
- Check all picket fasteners: replace loose nails with exterior ceramic screws
- Audit horizontal rail joints at post connections for split wood or loose brackets
- Test gate latch: verify self-latching action from 6 inches, 45 degrees, and 90 degrees
- Apply dry silicone lubricant to hinge barrels and latch springs
Environmental Stress Factors: Sprinkler Overspray, Earth Berming, and Pest Activity
The final section of your annual audit addresses external landscaping hazards that silently destroy fencing materials. In suburban Front Range yards, irrigation and landscaping practices cause immense damage.
Turn on your automated sprinkler system and observe each irrigation zone. Are sprinkler heads spraying directly against wooden pickets or metal posts? Direct water impact strips stain, introduces minerals that cause white efflorescence, and accelerates wood decay. Re-aim sprinkler nozzles away from the fence line.
Additionally, inspect for earth berming. Homeowners often pile garden mulch, compost, or river rock against the bottom of fence pickets. Pickets must maintain a 2-inch clearance above grade so air can circulate and wood can dry after rain.
Call Jeremy at (614) 543-4232 if your annual audit reveals posts or gates requiring professional repair.
| Landscaping Hazard | Observable Fence Damage | Recommended Corrective Action |
|---|---|---|
| Direct Sprinkler Overspray | Black fungal rot, white mineral crust | Re-aim spray nozzles 18 inches away from fence |
| Mulch / Dirt Piled on Pickets | Bottom-edge wood rot and termite access | Excavate soil to maintain 2-in air gap beneath pickets |
| Climbing Ivy / Heavy Vines | Traps moisture; dead weight bends rails | Sever vine roots and pull foliage off fence face |
| Downspout Splash Water | Erodes post footing soil; causes lean | Install downspout extensions to divert water 5 ft away |
Frequently Asked Questions
Early spring (April) is ideal. Inspecting in spring identifies winter frost damage, loose fasteners, and rotted posts before severe spring Chinook windstorms hit in May.